Like most people I have been running an instance of Kali in a virtual machine. I am typically on my Surface Pro 4 using Windows 10 and using VMWare Workstation. This workflow has been working fine for sometime now, however I have been wanting something that is a bit more natural, quick and easy to use. Sometimes when you need to quickly spin up a tool in can be cumbersome to have to boot up the full VM to get it running.
Recently I have found Docker as a way to containerise a Kali instance. Spinning up a Docker Container is extremely quick and can provide you instance access to all your tools inside a command prompt of your host operating system. This post will take you through setting up and configuring an instance of Kali Linux in Docker on Windows 10.
Installing Docker for Windows.
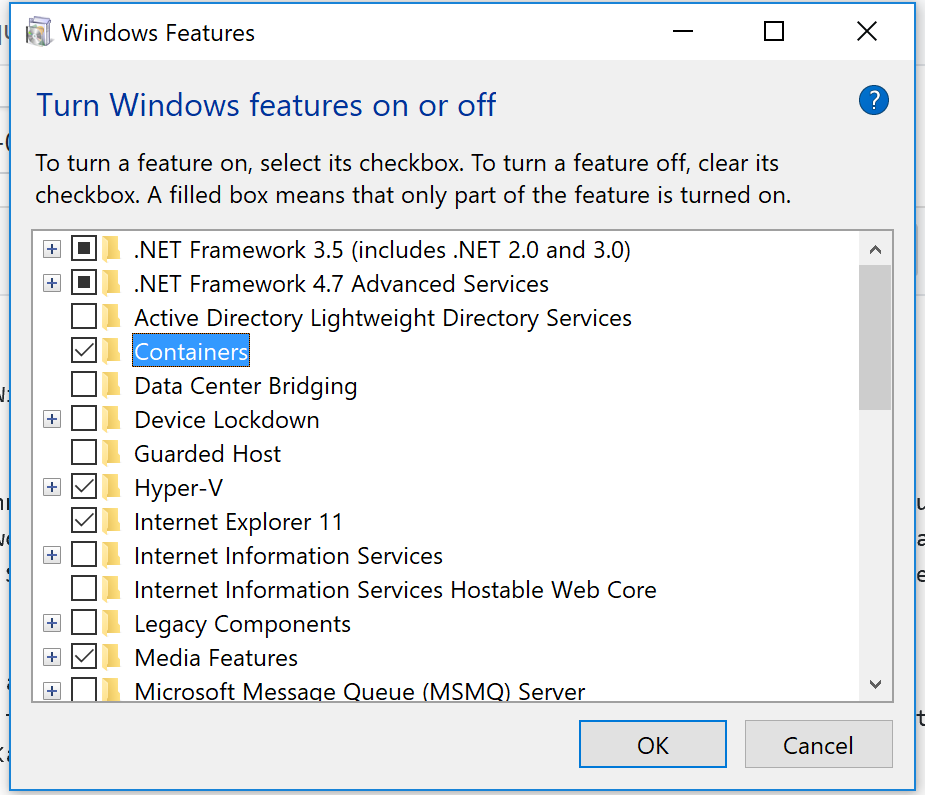
On Windows 10 (Anniversary Edition), you will firstly need to enable the use of containers. Using, Win + r, enter ‘optionalfeatures’ to access the ‘Turn Windows Features on or off’ prompt.
 Tick the box next to Containers and then click ‘Ok’.
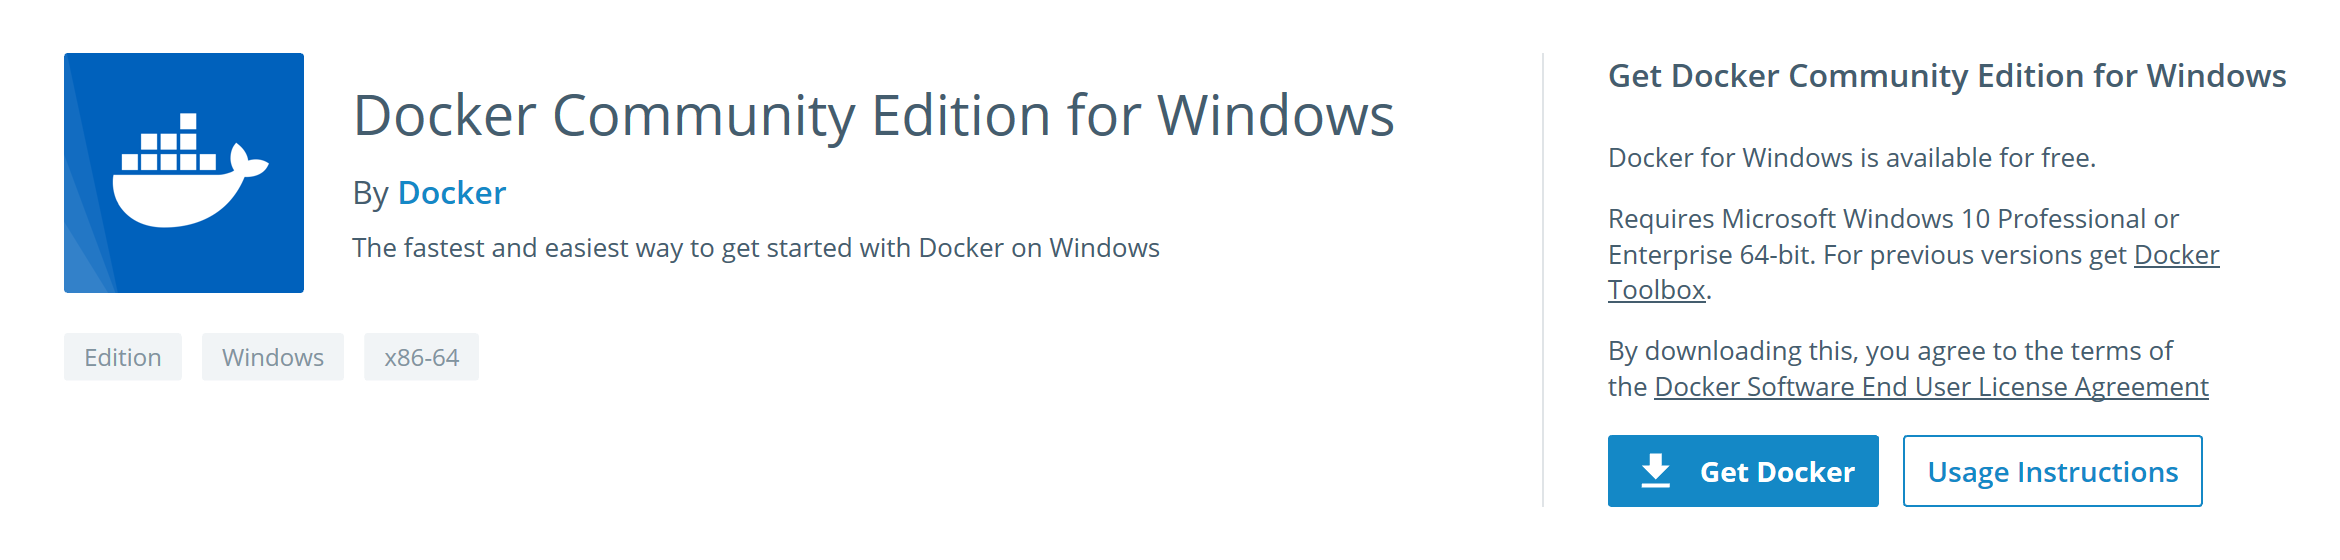
 Browse to Dockers home page and download the Docker for Windows Community Edition.
 After Downloading, follow the bouncing ball to install Docker. It will see you need to log out of your account and back in, and you will need to make sure you are an administrator to make sure the installation goes smoothly.
Running Docker
When you run docker for the first time, if you do not have Hyper-V enabled it will ask you to turn it on. For those that are also running VMWare Workstation or VirtualBox this will mean that these Virtual Machine applications will not run. This is one downside to running Docker, however, you can turn Hyper-V off, reboot and then run your Virtual Machine software as normal (when you go to run Docker again, it will again prompt you to turn back on Hyper-V).
Installing Kali
Now that docker is running, open up your prefered command prompt (cmd.exe, PowerShell, I am using Cmder which is great!) and run the following command:
docker pull kalilinux/kali-linux-dockerThis will download the offical Kali Linux Docker image to your computer. Once downloaded you can run the container with the following command:
docker run -it kalilinux/kali-linux-dockerThe ‘-it’ option allows you to open an interactive session with the container.
You will now be presented with the command prompt of your Kali instance.

Installing Tools
The kali instance you download has no tools installed at all. This allows you to full customise the Kali instance to contain as many tools as you want/need. The first thing to do, is to update the repositories, upgrade whats there and remove what we dont need:
apt update && apt full-upgrade && apt auto-remove && apt auto-cleanYou have a number of options for installing Tools. You can install the individual tools that you need yourself. Or you can install Kali’s meta-packages. These packages allow you to install the tools within Kali in customised packages for specific purposes. If you are not sure, the best option is to simply install the kali-linux-full package as it contains all the tools you would get if you downloaded and installed the .iso for Kali. To do this run the following:
apt-get install kali-linux-fullNow, there are other options to install the Kali tools such as the Katoolin script, however, using the offical Kali docker image with the metapackages gives you the extra ‘goodies’ that Kali has other than just the tools. This includes all the things you find in /usr/share/ such as wordlists, password files, directory brute forcing files, Webshells etc, etc..
Committing the Image
Now you can exit your container by simplying type ‘exit’. To view your active container type:
docker ps -a Now, we can re-enter our container by typing:
docker start a8c6b00c02caNote that - ‘a8c6b00c02ca’ is the container ID, this ID will be specific to your container and will change for every container you create.
After re-starting your container, you can enter it by typing:
docker attach a8c6b00c02caThis method will work well if you only have to have the one Kali container open. However, if you are like me you will have multiple terminal open at once, which means we need to commit our current container to an image, so that we can load multiple containers off that one image. To do this type:
docker commit a8c6b00c02ca kaliThis will create a new image ‘kali’ from our container. We can view the images we have in Docker by running the following command:
docker images
From here, we can now remove our container using the commands:
docker rm a8c6b00c02caStarting Kali Containers
Now that we have our new image, we can start a new container with the following command:
docker run -it --rm kaliThe option ‘–rm’ means that our kali container will be removed as soon as we exit it. This is beneficial as if we didn’t remove it automatically we could potentially have multiple containers building up on our system chewing up hard disk space and resources. I will often only omit the ‘–rm’ option when I am making system changes that I want to persist in my Kali Docker image (following the process described above).
From here I can spin up as many containers as I need to get my work done.
Connecting to ports
Using tools such as netcat and metasploit where I have listeners set up and waiting to catch a shell, I need to enable that port via my docker image. Therfore, if I know I am going to be using a port in my docker instance I need to enable it when I run docker. i.e.
docker run -it --rm -p 4444:4444 kaliThis maps port 4444 in my docker instance to the port 4444 on my host machine. So, when I set up my reverse listener on a target I want to direct it to the IP address of my host machine, not the IP address of my docker instance.
Issues
Using Kali in Docker is far from perfect. I have not been able to get Kali’s GUI applications to run successfully after trying different X-server options such as XMing and Cygwin/X. This has not stopped me however, and for the majority of GUI tools that I use such as Wireshark, BurpSuit, OWASP ZAP, Dirbuster and Ettercap all have Windows versions that I can use.
Docker for Windows currently does not support USB passthrough, therefore I cannot connect my Alfa Wireless card or RTL-SDR to take advantage of the tools Kali has available for these devices. This means I either need to find Windows alternatives or boot into my Kali VM to use these devices.
Conclusion
I have become a huge fan of this set up with Docker. It is quick and seemless to open up a Kali command prompt and start hacking away. I have found it particularly useful whilst working my through the machines on Hack the Box. However when doing Vulnhub VM’s, I need to either put the VMs on my ESXI server at home or I need to use my Kali VM.